 |
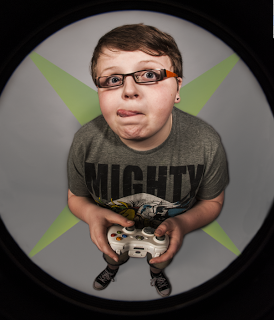
| Original Image |
First I worked in RAW.
First I touched up any noticeable blemishes on RAW using the 'spot removal' tool. Here are two screen shots, before and after.
The noticeable blemishes being small spots and marks on his glasses.


I then changed the contrast to +30.
I then opened the image up in photoshop as a 'smart object'.
I then turned the clarity up to 50, I did this originally to begin the airbrushing process however I found that with the clarity up, it makes the image look better.

Background.
During the shoot I noticed the backdrop wasn't big enough and I decided that post production could fix it.
I did this by using the brush tool and the clone tool.
I found this very difficult to achieve as the tools I were using weren't showing so I had to guess.
Unfortunately cleaning the edges proved difficult.
Once I was happy, I changed the opacity to 55%.
I then had to create my 'drawn', 'poster' effect, so the rough edges look like they are meant to be there. I also felt that this could give a 'comic/ graphic' feel to it.
First I selected 'Invert'. This was my result.

I then turned the 'Fill opacity' down to 10%.
 |
| Final image |
No comments:
Post a Comment